


Support heavy leaves
Use low, broad supports such as flat stones or a small riser under the pot to keep large, leathery leaves from resting on wet soil, which reduces risk of rot and fungal spotting when growing Anthurium clarinervium.

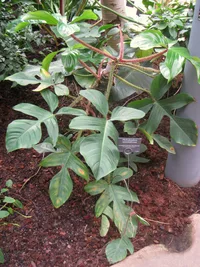
Anthurium clarinervium is a tropical aroid grown mainly for its striking foliage rather than flowers. It forms a compact rosette of thick, heart-shaped leaves. The leaves are dark green with strong, pale veins and a velvety surface, giving the plant a bold, architectural look indoors. In nature it occurs in the limestone regions of southern Mexico, often growing as a lithophyte on rocks. It prefers stable warmth, high humidity, and an airy, free-draining mix, which can make it more demanding than typical houseplants. Those learning how to care for Anthurium clarinervium should expect a slow-growing plant that rewards consistent conditions but reacts poorly to cold, soggy soil, and very dry air.

Care Difficulty
Moderate Care

Light Preference
Bright Indirect Light

Water Requirements
Moderate Water

Temperature Preference
Tropical / Frost Sensitive

Hardiness Zone
11–12

Soil Texture
Loamy, Peaty, Organic-rich

Soil pH
Acidic (5.5–6.5)

Soil Drainage
Moist but well-drained

Fertilization
Light (every 4–6 weeks)
Scan your plant to receive care tips personalized for your specific plant
Available on iOS and Android
This species prefers bright but softened light that mimics a forest understory.
Watering should keep roots moist but never saturated for long periods.
Stable warmth is more important than short-term extremes for this species.
This species needs elevated humidity to keep foliage healthy and minimize edge damage.
This epiphytic aroid prefers a loose, airy, organic-rich medium rather than dense potting soil.
This species is well suited to container culture when the pot supports its shallow, spreading root system.
This plant benefits from light, consistent feeding during active growth for balanced Anthurium clarinervium care.
Pruning Anthurium clarinervium focuses on hygiene and maintaining a clean, compact shape.
Container-grown plants benefit from careful repotting to refresh the mix and support healthy roots.
This species is most reliably multiplied by division rather than cuttings or seed at home.
This tropical plant is frost sensitive and needs stable indoor conditions in winter in most climates.

Plant Health Check
Not sure what’s wrong with your plant? Check your plant’s health inside the app.
Its thick, heart-shaped leaves are covered in a dense layer of tiny hairs that create a matte, velvety surface while helping diffuse intense light in its native understory habitat.
The striking pale veins are caused by specialized tissue with different cell composition and air spaces, which increases visual contrast against the dark green blade and may enhance light distribution inside the leaf.
In the wild in Chiapas, Mexico, it often grows on or near limestone-rich substrates, and its roots are adapted to airy, fast-draining pockets of organic debris rather than dense soil.

This species is considered a microendemic plant, naturally restricted to a relatively small region in Chiapas, Mexico, which makes wild populations vulnerable to habitat disturbance and over-collection.
Crispy brown edges usually come from low humidity, salt buildup from fertilizer, or inconsistent moisture. Flush the pot occasionally, trim damaged areas, maintain higher humidity, and avoid letting the root ball fully dry or stay waterlogged.
Keep your plants happy and healthy with plant identification, disease detection, and easy care guidance.

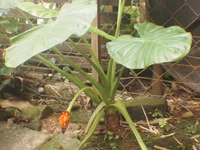
Alocasia longiloba
Alocasia longiloba
 POPULAR
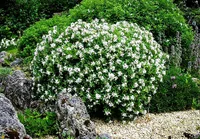
Cape jasmine
Gardenia jasminoides
 POPULAR
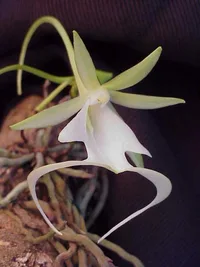
Ghost orchid
Dendrophylax lindenii
 POPULAR
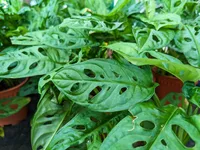
Swiss Cheese Vine
Monstera adansonii
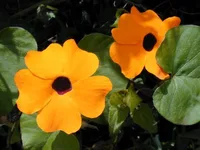
Black-eyed Susan vine
Thunbergia alata
 POPULAR
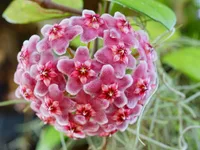
Wax Plant
Hoya carnosa
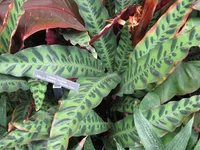
Rattlesnake-plant
Goeppertia insignis
 POPULAR
Philodendron squamiferum
Philodendron squamiferum