How to Repot a Plant: A Step-by-Step Guide
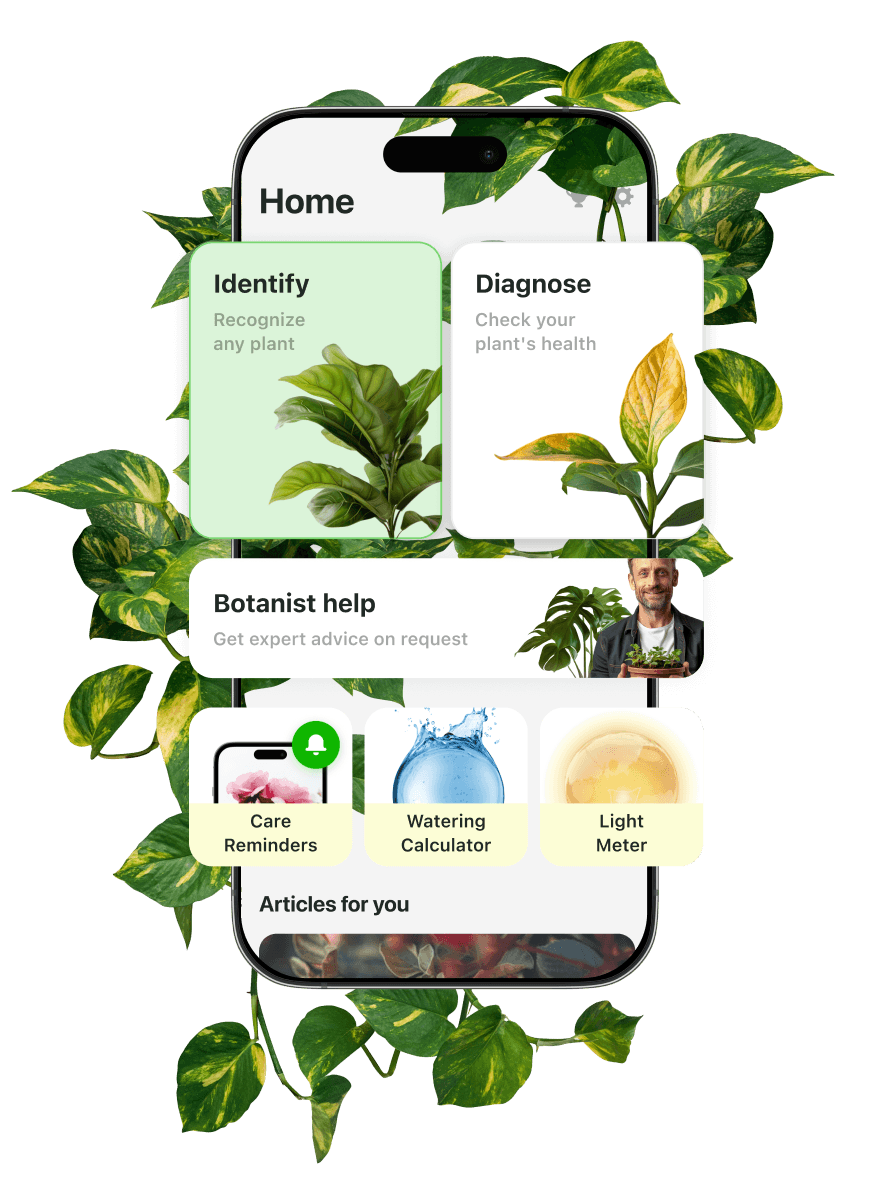
In spring, many plants need repotting—an essential part of care. To avoid stress, consider the plant’s type and size. This article offers a step-by-step guide for repotting indoors or outdoors and shows how to check plant health and get care tips using the Botan app.

How to Know When to Repot a Plant
All indoor plants and houseplants eventually need repotting as they grow or show signs of disease. It doesn’t mean that you should upsize the pot every spring. However, you should be ready for it every 3-5 years. Here are some clear signs of how to know when to repot a plant:
- The roots begin to grow through the drainage holes. You can see the roots at the bottom, or they are pushing up through the topsoil.
- The pot is deformed or cracked. It’s a sign that there are more roots than soil. Also, during repotting a plant, you may notice pot-bound roots, meaning roots that are tightly circling and tangled around the inside of the pot, which confirms that potting up was the right move.
- No growth for a long time (8-12 months). No new leaves or stems, or it has generally stopped growing.
- Hardened soil. If you see that the soil has pulled away from the sides, is hard, or has developed a crusty salt buildup, then you should take action.
With the plant care app, you can just snap a photo and get help if you are not sure whether it needs repotting at all. And in case you need it, we have prepared an easy guide for you.
How to Repot a Plant: 7 Steps
Spring is the best time to repot plants, as they are actively growing and recover faster. And here is the 7-step process for successful transplanting.
Step 1: Gather Everything You Need for the Repotting
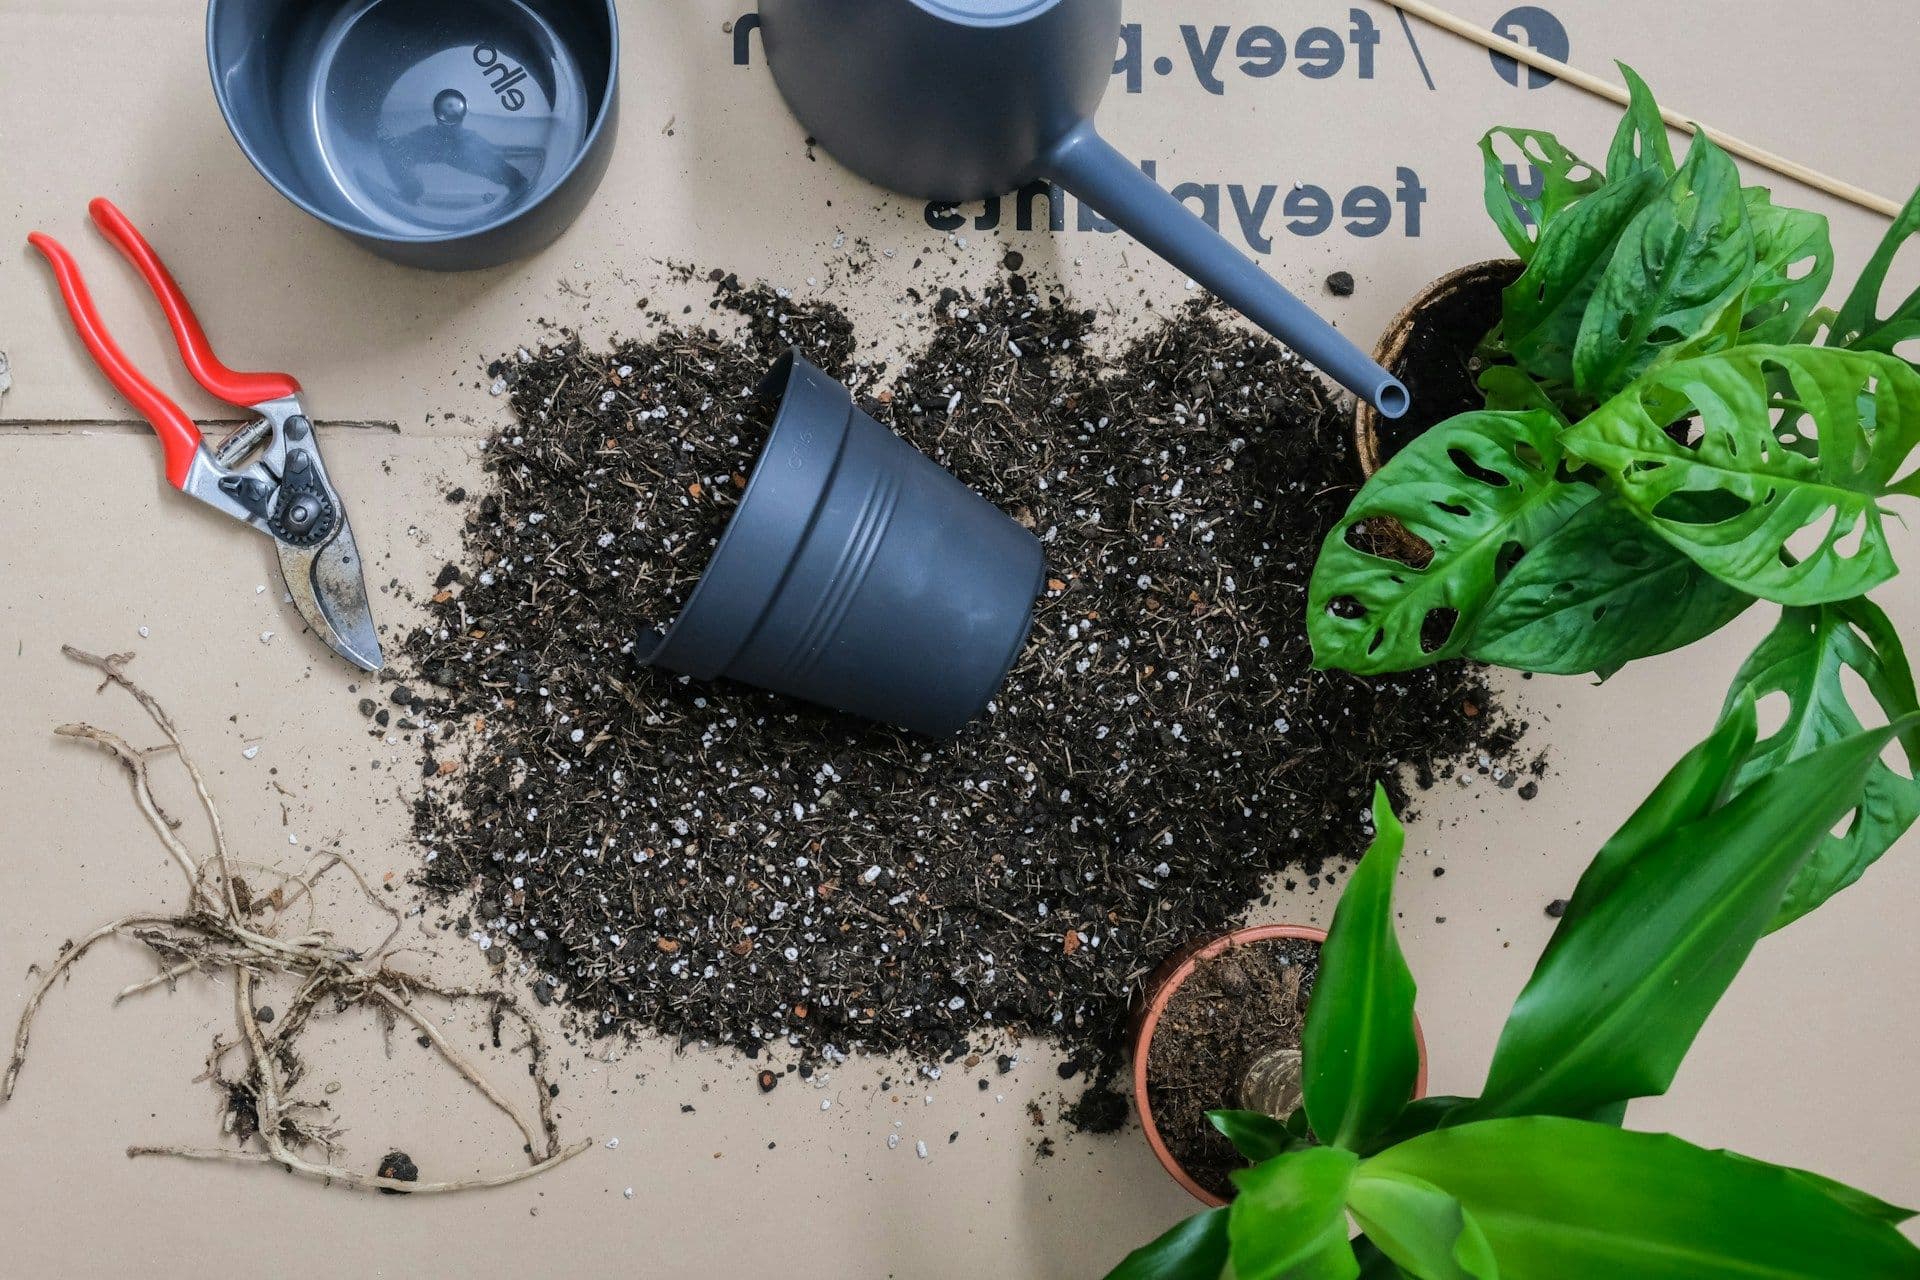
Before you start, make sure everything is ready. Here’s a checklist of all basic things:
- The plant in question. It should be pre-watered 24 hours prior to planting, or the soil should be fully dried for succulent plants.
- New pot. The pot size should be only 1-2 inches bigger than the old one and must have drainage holes.
- New potting mix soil. It should be suitable: for example, a succulent mix or an airy mix aroids. Do not reuse old soil.
- Helpful tools. Usually, you’ll need a trowel and sharp scissors or shears (for cutting roots). It’s always good to protect your fingers with gloves and keep your work area clean with a potting mat or any other cover.
- Support solutions. Water is a clear must. You might also need fertilizer, a nutrient solution, a root booster, or specific disease treatments.
After you choose all of the above, you can begin the repotting process.
Step 2: Remove the Plant From Its Current Pot
There are many types of plant containers, and each calls for a different repotting strategy. Here are the most popular pot types and how to remove plants from them:
- Ceramic or terra cotta pot. Use a regular skewer to loosen the soil from the edges. Then tap the bottom with one hand while supporting the plant with the other to take it out.
- Plastic pot. The process is much easier. Just hold the pot and press along its edges. Then flip it over, and if you do everything correctly, it will come out easily. If it’s a nursery pot, you can just cut it.
- Fiberglass pot. One of the most important things about how to replant a plant from a fiberglass pot is that you’ll actually deal with a nursery pot instead of it. Fiberglass pots usually come without drainage holes, so people use plastic insertions for easy care. To remove the plant after you take the insertion out of the fiberglass pot, follow the recommendations for plastic ones.
Note that, although the pot type influences the potting strategy, it is crucial to be gentle and proceed slowly to avoid unnecessary damage. Also, you can clean your pot and use it for other plants, unless you cut it.
Step 3: Inspect and Prepare the Root Ball
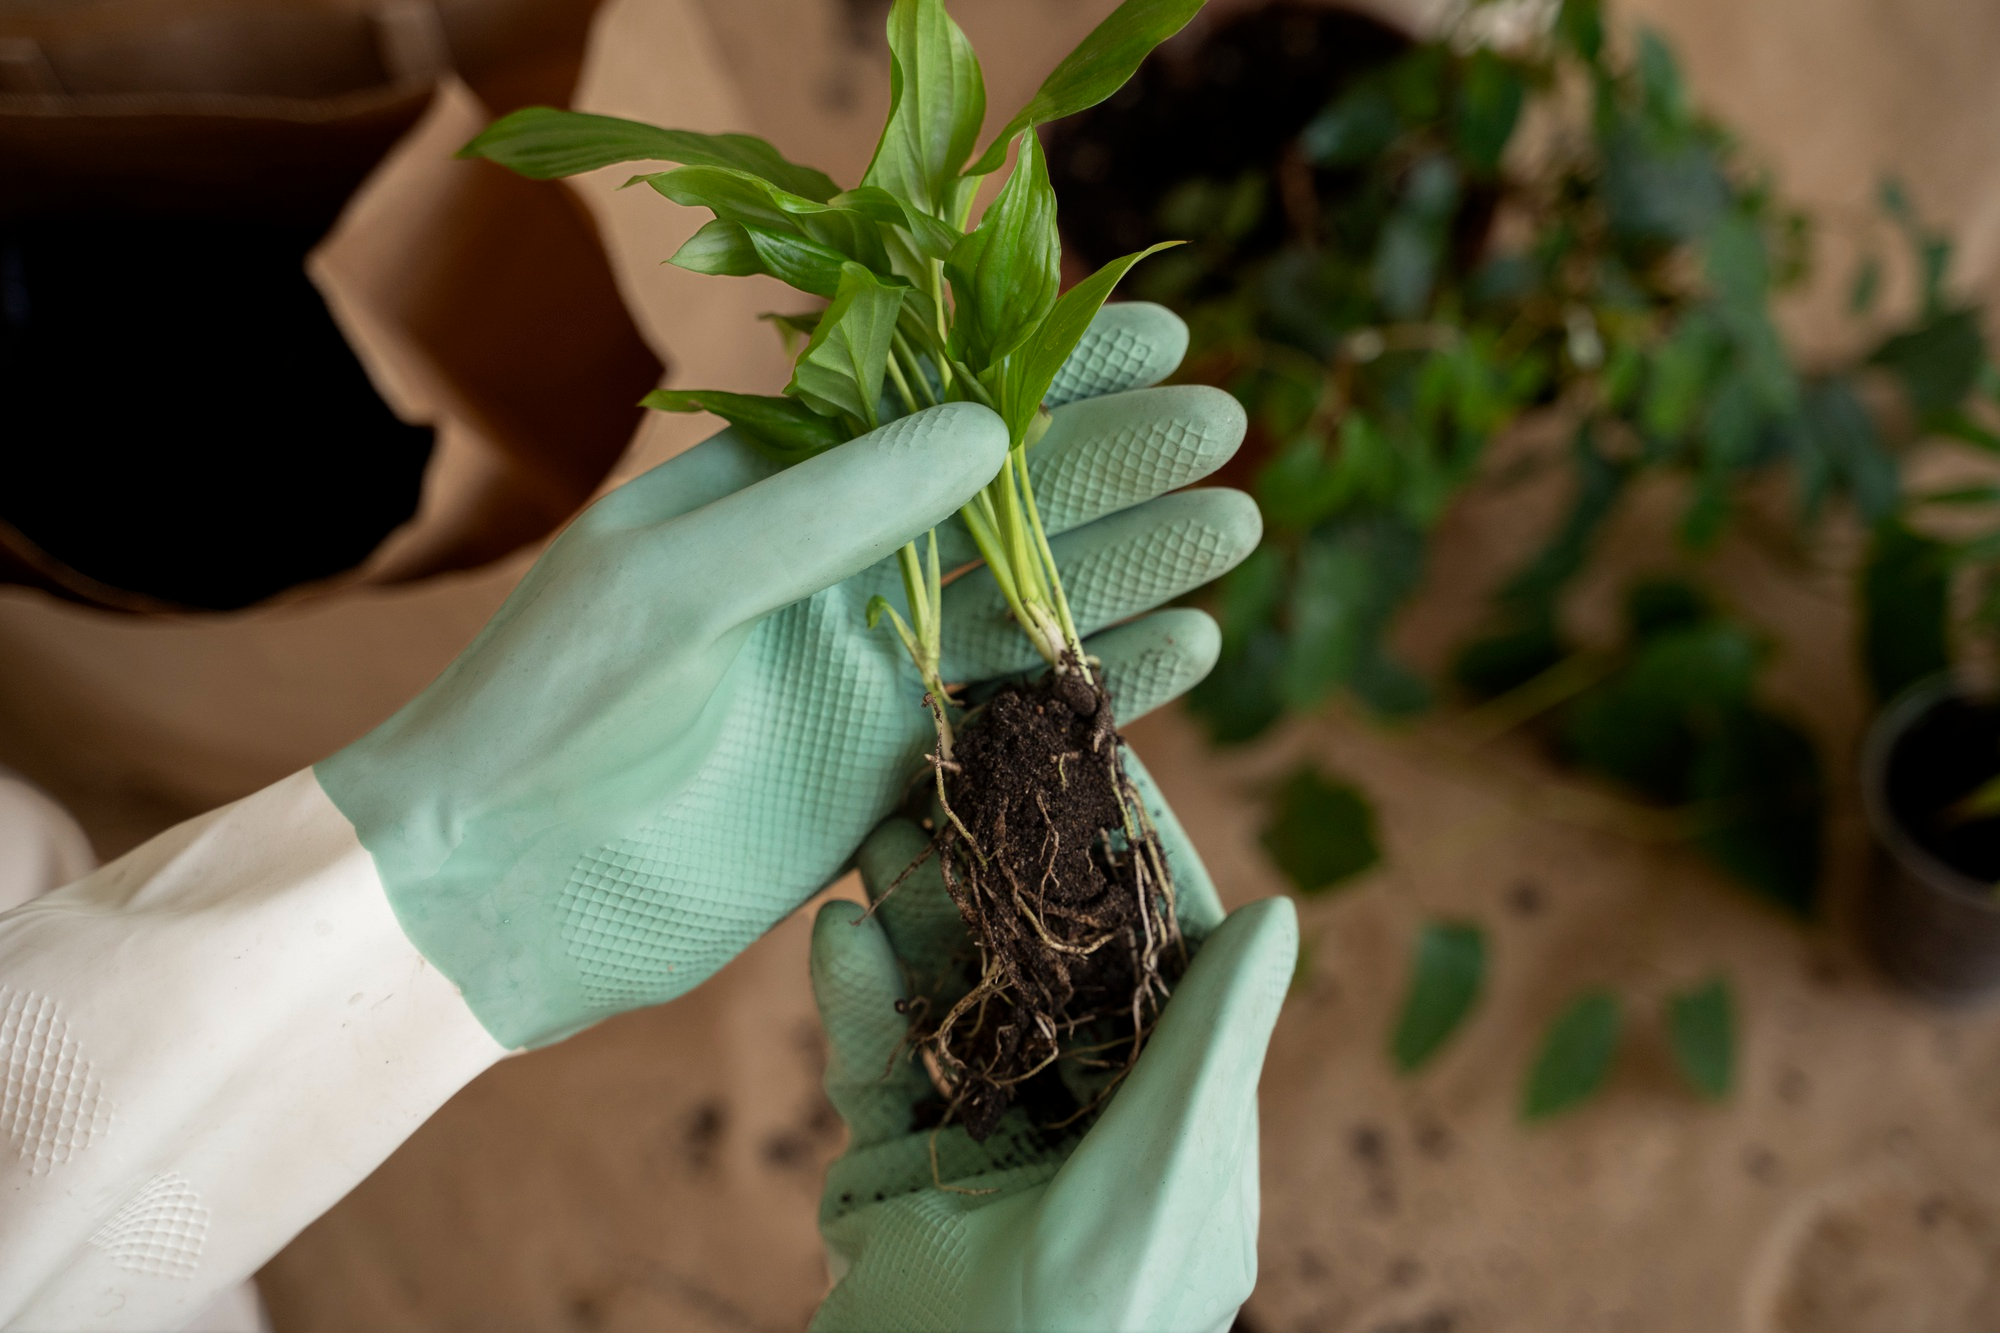
After you remove the root ball from the pot, gently loosen the roots. You should make sure that it’s free to grow and absorb all the nutrients and water.
Also, carefully inspect the plant. Healthy roots are usually white or light tan, and dead or rotting ones are dark and mushy. If you spot rotting (usually with a weird smell), cut everything dead off. By the way, root pruning is required if you plan to use the same container.
Make sure to disinfect your scissors and to treat root sections with charcoal or other natural sanitizers to prevent future rotting. You might also need to change your watering habits.
Step 4: Prepare the New Pot
Depending on the type of your pot, it might need some preparation. For example, if you use unglazed clay, it needs an overnight soak. Also, it’s important to cover the drainage hole with a piece of plastic mesh to prevent soil from seeping through when watering.
Another thing to keep in mind when you repot plants is choosing the right potting mix. For instance, succulents flourish in well-draining, gritty, and aerated soil, and orchids prefer fir bark, charcoal, perlite, or sphagnum moss. Read up on the plant you’re transplanting to get the right sort of soil it likes.
Step 5: Choose Position and Fill
Fill your pot to a third with a fresh potting mixture. Then, place a plant in the center of the pot and hold it gently while you add more soil to secure its position.
Ensure the soil mix fills the pot spaces. You can tap lightly to firm your plant into place. But don’t fill it to the brim; leave about ¼"–½" from the top.
This process can be a bit tricky, which is why we prepared some handy repotting plants tips that might help:
Do | Avoid |
Position the crown at the same height as before | Placing the crown too far under the soil |
Place in the center | Placing it off-center |
Add soil gradually | Dumping soil all at once |
Light tapping for stabilization | Pressing the soil too tightly |
Leave some space to the rim for comfortable watering | Filling to the very top |
Step 6: Water Thoroughly
This step is a must, as after repotting, your plant is under a lot of stress and needs water right away. Deep and even watering is important for fast recovery. But you don’t need to put them under the shower. Slow watering or soaking is enough.
- Let the excess water fully drain
- Don’t water the next day
- Check the soil before watering again (1” should be dried out)
Note that watering schedules vary by plant. While tropical species might need slightly moist soil, succulents and cacti call for drier soil before watering.
Step 7: Give It Time to Recover
After the change, your green friend needs some silence. Don’t move it around. Don’t water for a few days or use fertilizer. Allow nature to follow its natural course in bright, indirect light. And to keep yourself occupied while waiting, learn some plant growing tips to give your houseplant the care it deserves.
Repotting Indoor Plants vs. Outdoor Plants
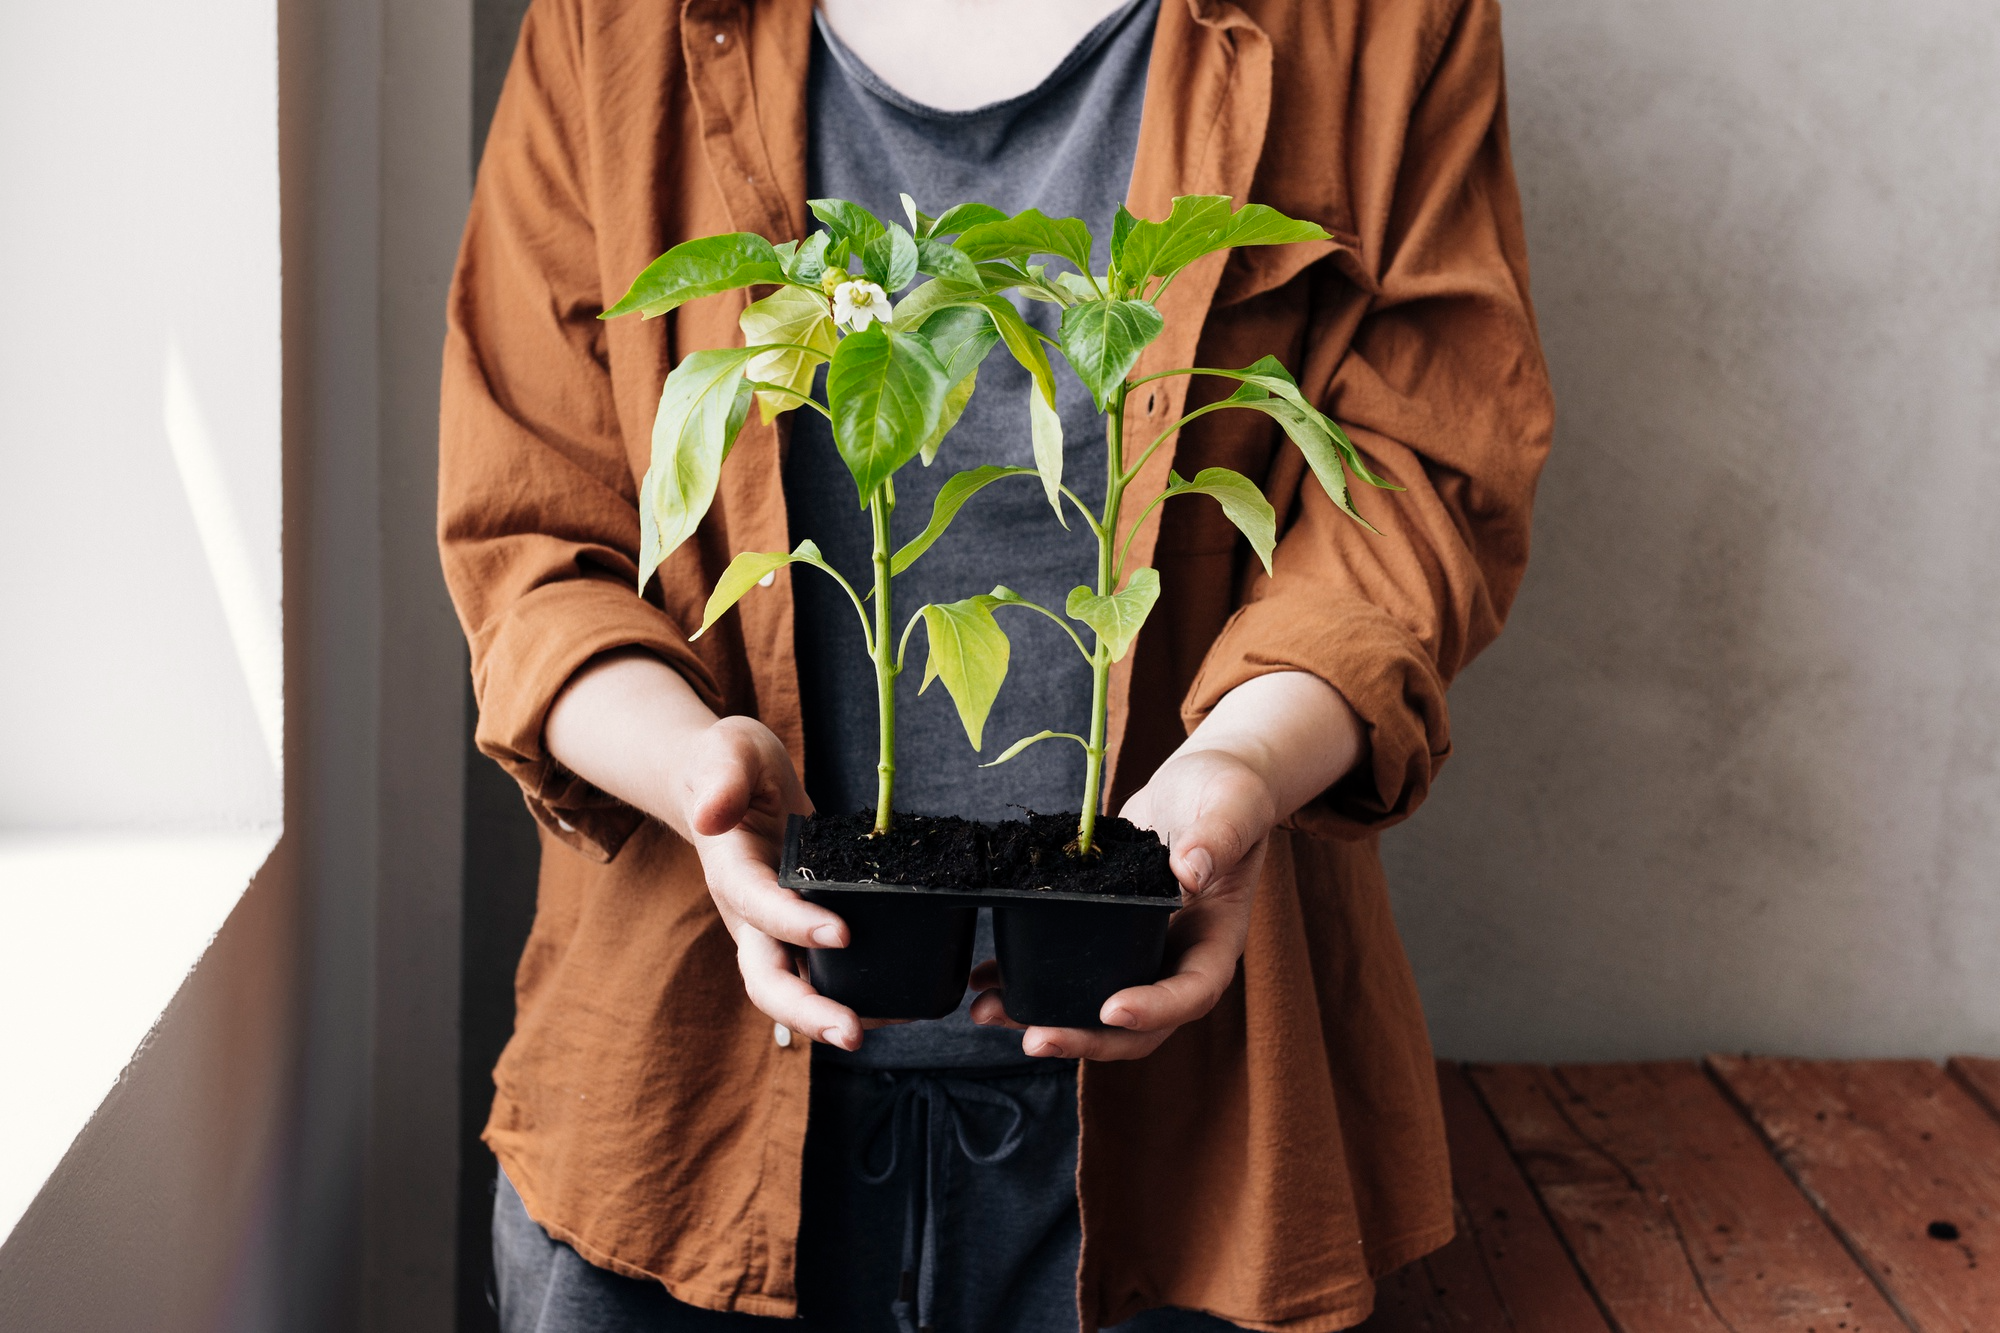
Repotting indoor plants and outdoor ones is similar but has nuances, since they grow in very different environments. Here are some things to consider:
- When to repot a plant? Spring is best for both types, but indoor plants can be transplanted any time of year (if needed).
- You should be gentler with houseplant roots than with outdoor ones, as the latter recover faster.
- Plants indoor need tighter pots; outdoors, you can size up more.
- After repotting, avoid overwatering houseplants, while outdoor ones require more frequent watering, especially during hot weather.
- Choose more moisture-retentive soil for outdoor plants and ensure good drainage for indoor houseplants.
Don’t treat indoor and outdoor plants the same just because the process looks identical. Mind the differences to make repotting a growth boost, not a setback.
3 Tips for a Successful Repot
Repotting doesn’t have to be complicated. Here are 3 tips that will help your plant bounce back faster:
- Pick a well-draining mix and avoid pots that are too big.
- Water after repotting and let it dry for as long as it takes before the next watering.
- Keep it in bright, scattered light and don’t move it around.
Keep in mind that the right approach for repotting depends on the type of plant you have. If you’re not sure, you can identify your houseplants or any outdoor ones with Botan and get science-backed care tips and treatment suggestions.
Frequently Asked Questions
It’s not recommended to pot up while the plant is blooming, as it may cause stress, but you can repot if you suspect disease or pests.
Dariia Plaksina
5 years of botanical research experience
Dariia combines her background in biology and botany with a passion for clear, science-based plant care writing. She creates informative articles that help readers better understand plant health, growth, and everyday care.
Related Articles
13 min read · 29 May 2026
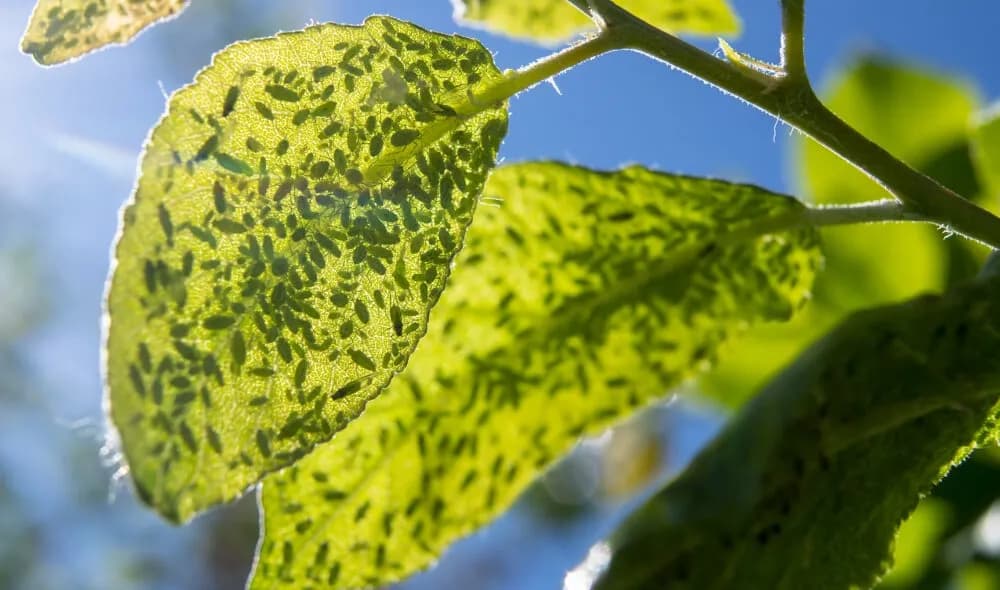
How to Get Rid of Aphids on Plants
Spotted tiny green bugs on your plant? They’re likely aphids—sap-sucking pests that can quickly damage your garden. Learning how to get rid of aphids is simple and doesn’t require harsh chemicals. This guide covers identification, treatment, and long-term control. Unsure it’s aphids? The Botan App can confirm the pest with a single photo before you treat.
Explore Plants by Care Needs
Identify the plant and problem. Help your plant recover
Identify plant problems early, understand what's wrong, and get clear care guidance. Botan helps you turn guesswork into confident plant care