
How to Group Plants in Landscaping: A Practical Layout Guide
Good plant grouping can mean the difference between a well-planned garden and one that looks sloppy. This guide explores layers, spacing, cluster shapes, and the plants that thrive when you group them.

On this page
- 1. Map Your Space Before Buying Plants
- 2. Identify Your Layers
- Background Layer
- Middle Layer
- Foreground Layer
- 3. Plant in Groups and Repeat Across the Bed
- 4. Place for Mature Size
- Plant Cluster Formations: 3 Techniques to Try
- 3-point Triangle
- 3:2 Arrangement
- 4:1 Arrangement
- Best Plants for Grouping
- Shrubs
- Trees
- Ornamental Grasses
- 5 Plant Layout Mistakes to Avoid
A new bed may look perfect in the nursery and awkward once it's planted. You select healthy species, dig them in, and still end up with a random look. Usually, the problem isn't the plants themselves, but their arrangement. So how to group plants in landscaping to make it look truly thoughtful?
In short, you need to think in layers and groups. First, you create a back-to-front structure. Then, you repeat the same species in groups throughout the flowerbed. A plant identification app like Botan makes it easy to identify exactly what you're planting. The rest of this guide will show you landscaping details for your garden.
1. Map Your Space Before Buying Plants
Before you figure out how to arrange plants, take a pencil and sketch out your flowerbed. Draw an outline, mark where the sun falls, and indicate already existing trees. Planning regrets often stem from buying plants first and then trying to squeeze them in. Therefore, plan your landscaping first — a rough sketch will show you how much space you actually have.


Keep Plants Thriving
Get simple care guidance tailored to each plant’s needs in the app
2. Identify Your Layers
Depth is what distinguishes a flat bed from a rich one. The entire concept is based on three layers, from back to front. The background sets the height and frame. The middle layer contains most of the color and texture. The foreground softens the space where the bed meets the grass. Position the plants correctly, and the design will practically take care of itself.
Background Layer
This is the tallest part, located at the back of the border or in the middle of an island bed. Fill it with small trees, large shrubs, and evergreen plants that maintain their shape year-round. All the plants in front of it are guided by this row. Choose this layer first, and prefer evergreens to prevent the bed from looking empty in winter.
Middle Layer
The middle layer does most of the visible work. It's where you can place deciduous shrubs, ornamental grasses, and medium-sized perennials. They offer seasonal color and a gentle, swaying movement. Plant them in odd groups so that each species appears as a distinct unit. Choosing species that bloom at different times helps maintain interest in this layer for months.
Foreground Layer
The foreground is the front row, and it remains low. Use groundcovers, border perennials, and edging plants here. They cover the bare stems of taller species and create a clear line along the path. Planting one or two such plants along the entire edge gives the bed a finished look.

3. Plant in Groups and Repeat Across the Bed
The most significant improvement you can make is to stop planting just one specimen. A single plant simply gets lost in a crowded composition. Grouping plants together solves this problem in one fell swoop — 3, 5, or 7 identical species create a mass with real presence, and this mass finally feels like a single form. Then repeat this grouping 2-3 times throughout the bed to finalize a garden design. Repetition directs the eye from one end of the bed to the other.
4. Place for Mature Size
Good garden plant placement begins with the plant's mature size, not pot one. A neat shrub today can triple its width in just a few seasons. A fast-growing climber, such as Chinese wisteria, is a typical example of this approach. If you plant it too densely now, you'll face overcrowding, obstructed views, and endless pruning in the future. Read the mature species size information on the label and allow some space.

Plant Cluster Formations: 3 Techniques to Try
Odd numbers of plants are important, but the shape of the group matters too. The overall shape determines how the planting will appear from the opposite side of the yard. Here is how to position plants in garden beds using 3 simple methods for forming a group. Each technique is suitable for different locations.
3-point Triangle
This is the most commonly used pattern. Place 3 identical species in a loose triangle rather than in a straight row. Adjust the spacing between them to create a slightly uneven and natural look. The triangle provides a balanced grouping that fits almost any space. Compact shrubs, bushy herbs, or three medium-sized perennials all work well with this shape.
3:2 Arrangement
Such an arrangement adds depth to the triangle. You plant a group of three species, then a smaller pair next to them. The pair mirrors the first group and draws the eye further into the bed. This is one of the most natural planting patterns. Imagine 3 tall grasses with 2 low-growing perennials positioned slightly in front of them.
4:1 Arrangement
Here, you set a block of 4 plants together, then place one suitable species separately. This single plant becomes the focal point. The eye first falls on the group, then moves to a single plant. This adds rhythm without introducing new species. A group of four low shrubs, with a taller specimen positioned a few steps away, looks good.
Formation | Best for | Example plants |
3-point triangle | A balanced base almost anywhere | Compact shrubs and clumping grasses |
3:2 arrangement | Adding depth and layering | Tall grasses with low perennials |
4:1 arrangement | Creating a focal point | Low shrubs with one tall specimen |
Best Plants for Grouping
Some plants simply group better than others. Reliable species form neat clumps, repeat cleanly, and retain their shape without constant care. These three categories give you a reliable starting point.
Shrubs
Shrubs form the foundation of most group beds. They provide structure and volume year-round, and even a small grouping of them looks well-thought-out from the start. Here are some of the most popular species for landscaping:
- Laurustinus (Viburnum tinus) — Dense and evergreen, it maintains its shape and blooms even during the winter dormancy.
- Japanese cheesewood (Pittosporum tobira) — Glossy and compact, forms rounded clumps that repeat beautifully along the bed.
- Boxwood (Buxus sempervirens) — Slow-growing and neat, can be pruned into low blocks that serve as support for a formal grouping.
- Bigleaf hydrangea (Hydrangea macrophylla) — Plant three together, and their summer blooms will merge into one vibrant accent.
If you space shrubs slightly unevenly, the grouping will look much more natural than a straight line.

Trees
Trees crown the upper tier, and many look beautiful in small groupings. Multi-stemmed and columnar species pair beautifully without taking up too much space in a garden. Good examples of such trees are:
- English yew (Taxus baccata) — A slow evergreen conifer that forms dark, dense screens or backgrounds.
- Common serviceberry (Amelanchier arborea) — Light and multi-stemmed, three of them form a small grove full of spring flowers.
- Common apple (Malus domestica) — Spring blooms followed by fall fruiting make this repeating trio attractive year-round.
- River birch (Betula nigra) — Its peeling bark stands out, and the group of three shrubs appears as a single, sculptural form.
Trees planted in groups require more space than shrubs, so give each one equal spacing once mature.

Ornamental Grasses
Grasses add the kind of movement that shrubs and trees can't. They sway, catch low light, and soften rigid outlines. Among ornamental plants, they are among the easiest to grow in groups. The most common species include:
- Feather reed grass (Calamagrostis × acutiflora) — Narrow and upright, forms a clear vertical wall when planted in rows.
- Fountain grass (Pennisetum alopecuroides) — Soft, arching inflorescences that look best in a repeating group.
- Switchgrass (Panicum virgatum) — Tall and semi-transparent, creates an airy screen when grown in groups
- Blue fescue (Festuca glauca) — Little blue-gray mounds that neatly repeat along the leading edge.
Grasses reach their full potential when planted in large numbers, which allows them to sway in the breeze as a single mass.

5 Plant Layout Mistakes to Avoid
Even a thoughtful landscape plant layout can unravel over a few small mistakes. The good news is that each one is easy to prevent once you recognize them:
- Planting in single rows. A neat line of just one species of each type ends up looking like rows at a garden center. Group species in odd numbers so that each type feels like a separate unit.
- Ignoring mature size. A space that seems large today becomes cramped in a couple of years. Check the mature plant width listed on the label and leave that space in front.
- Avoiding repetition. A bed with just one of each type looks cluttered. Repeat a few key groupings throughout the area to give a better look.
- Smoothing layers. When all the species are of the same height, the bed looks boring and monotonous. Intentionally create a background, middle ground, and foreground.
- Blooming simultaneously. A border that reaches its peak bloom all at once will fade for the rest of the year. Combine plants that thrive in different seasons to prolong blooms.
Avoid these five mistakes, and your flowerbed will look flawless from spring until frost.
FAQ
Draw the bed to scale, then mark sun, shade, and any plants you plan to keep. Arrange the species in layers, starting at the back of the bed and move forward, grouping each plant into odd-numbered clusters.
Alex Yar
Plant Expert
7+ years of experience studying plants, researching their diseases, and examining their characteristics.
Alex is a plant expert and writer with more than 7 years of experience studying plants, their growing requirements, and their responses to environmental conditions. His areas of expertise include plant care, disease recognition, stress diagnosis, pest-related problems, and the distinctive characteristics of different species.
Over the years, Alex has developed a strong practical understanding of how light, temperature, humidity, watering, soil conditions, and nutrition affect plant health. He combines careful observation with in-depth research to explain effective care and recovery methods.
Alex has extensive hands-on experience caring for houseplants. His articles translate complex botanical topics into clear guidance that helps you better understand your plants and recognize early warning signs.
Related Articles
5 min read · 28 Sept 2026
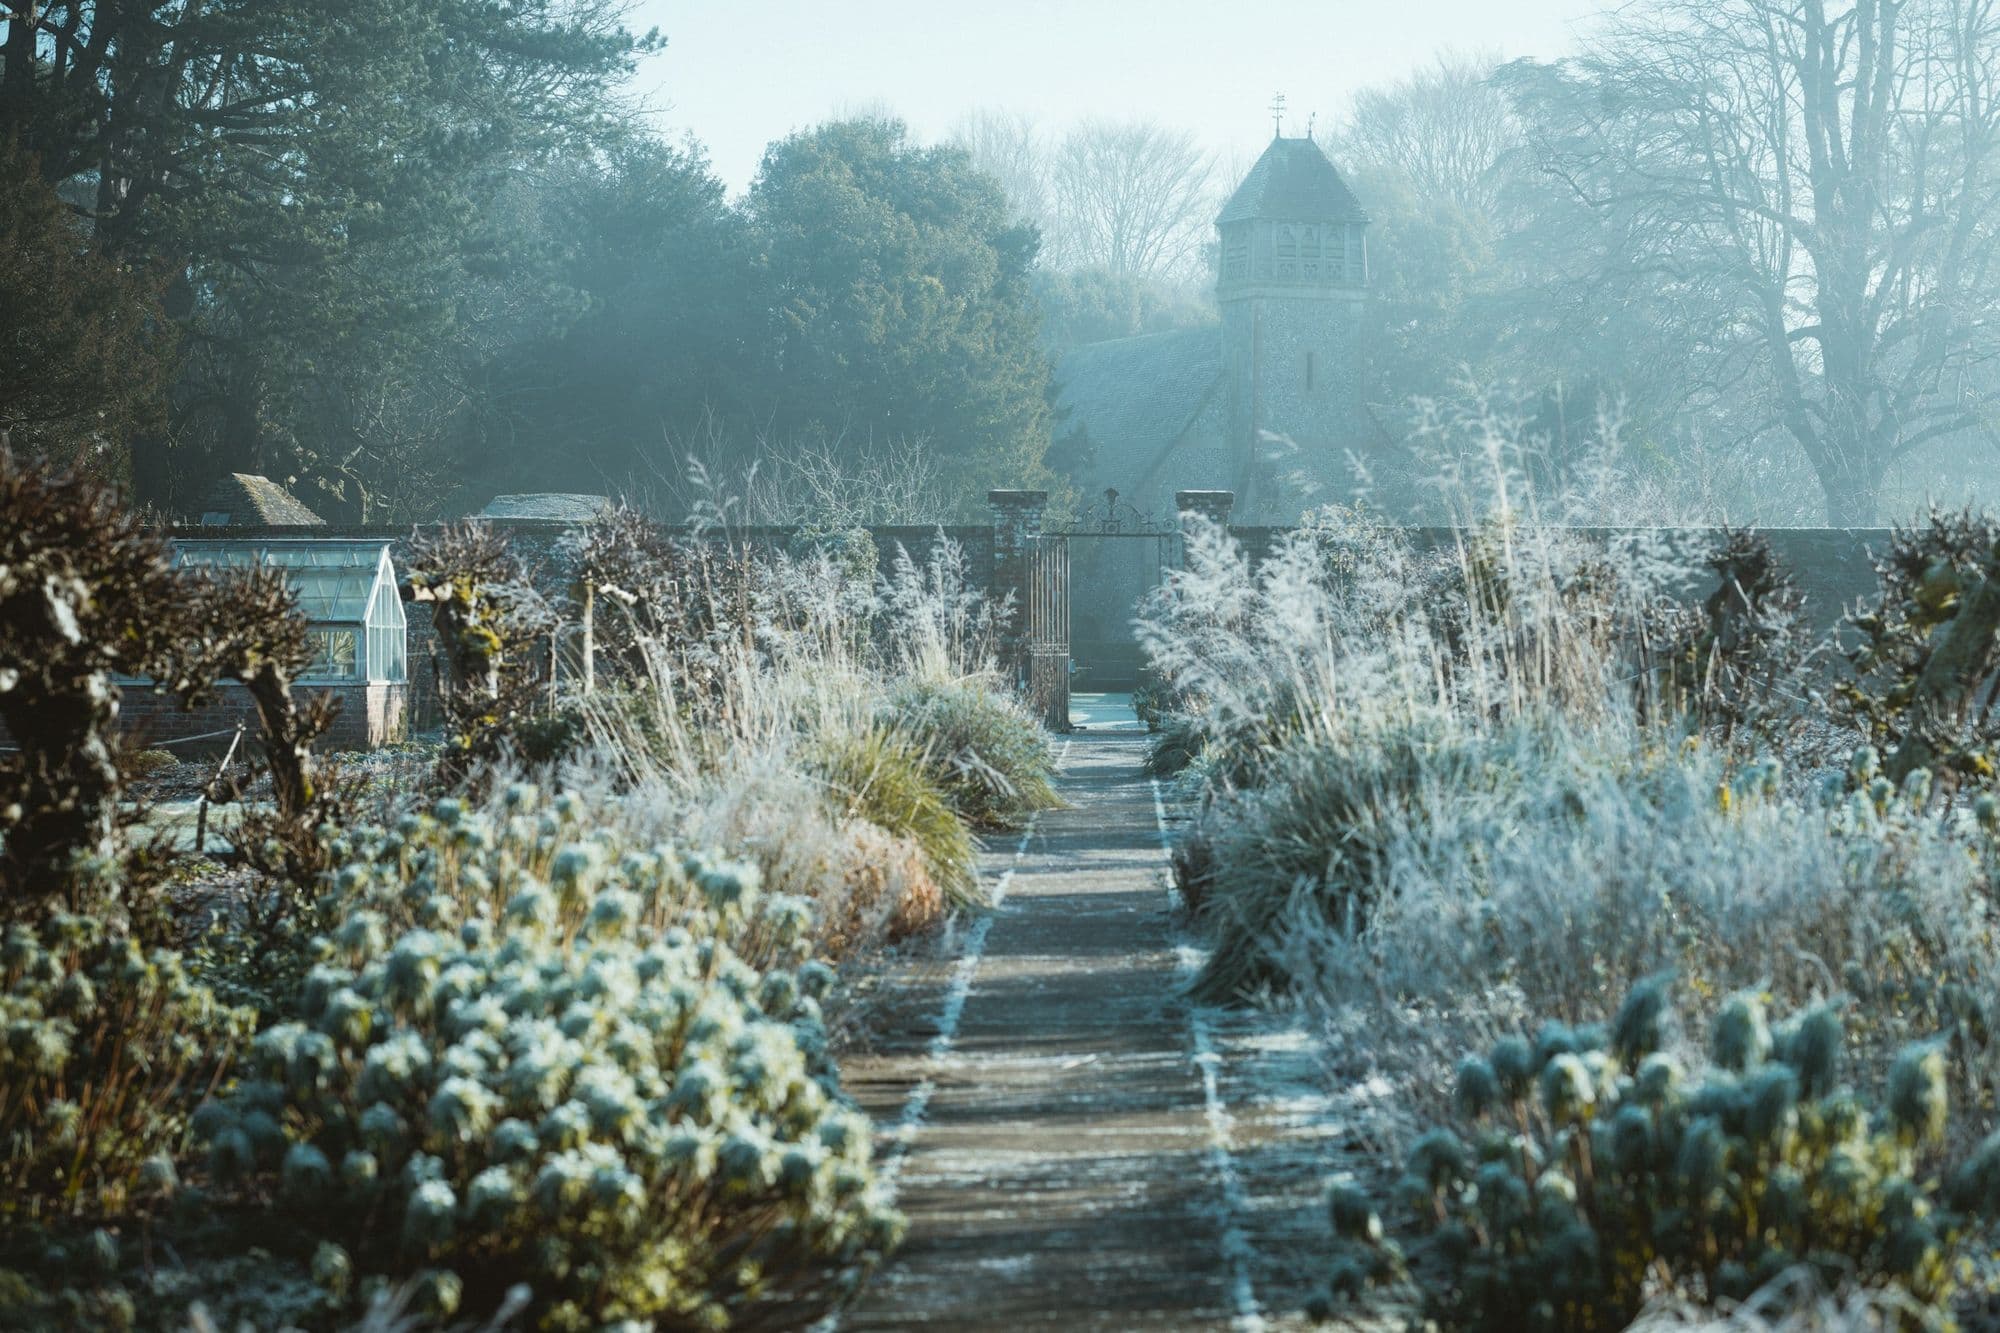
How to Winterize Your Garden in 6 Steps
Learn how to prepare your garden for winter with a practical six-step checklist covering cleanup, tender plant care, watering, mulching, winter protection, and winterizing equipment and containers.
6 min read · 15 Sept 2026
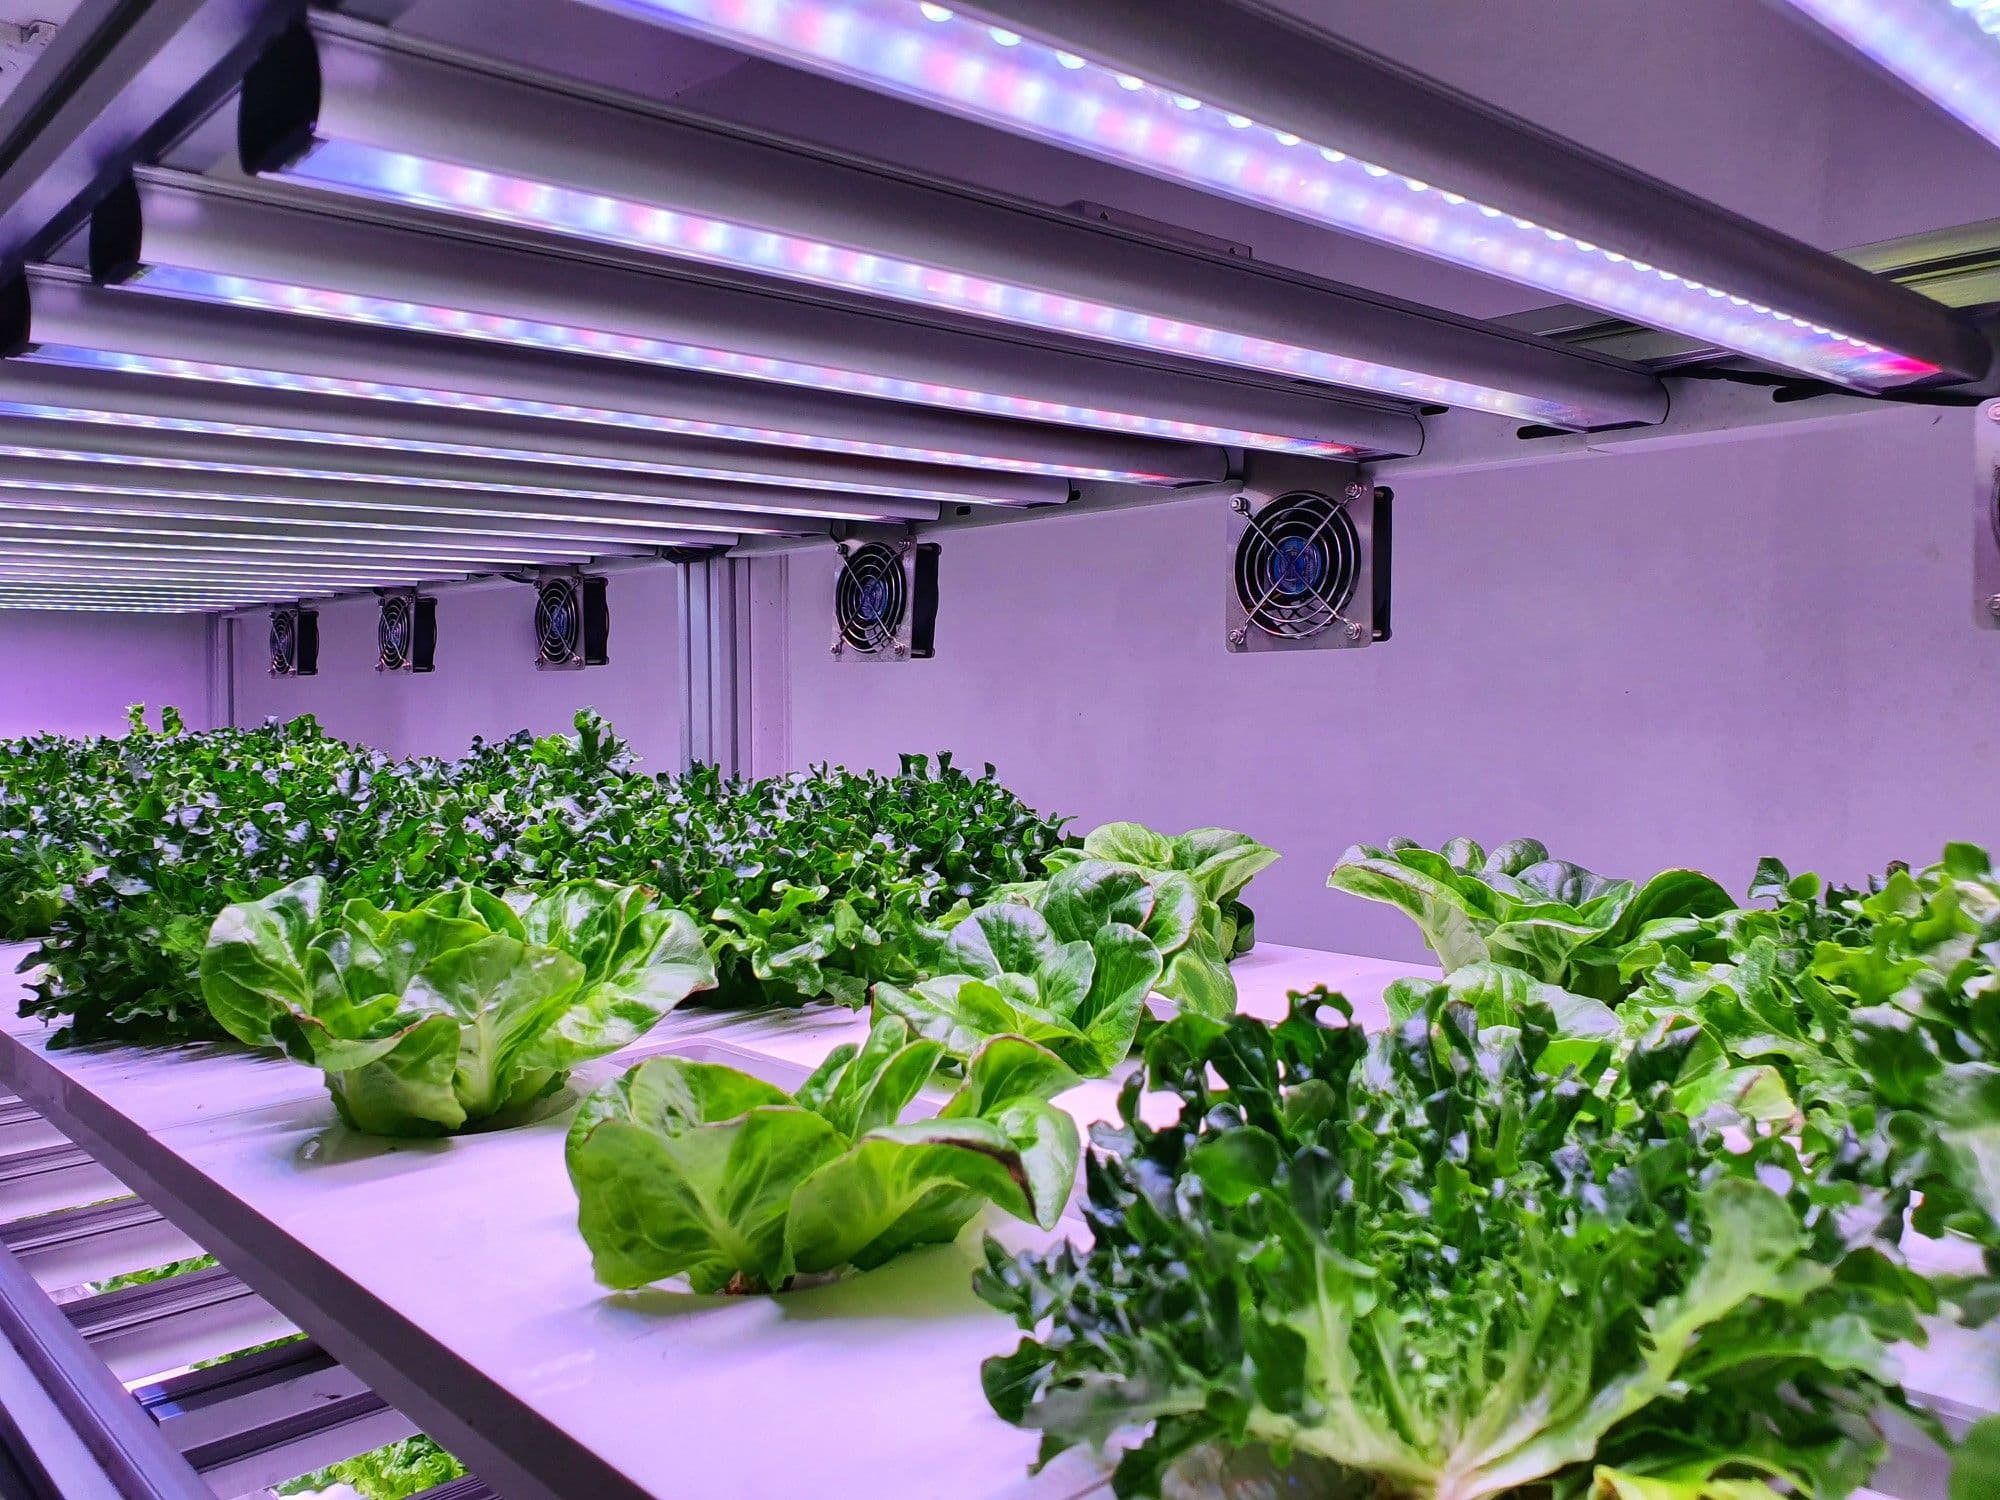
Can Plants Grow With Artificial Light?
Plants can grow under artificial light when the setup provides a suitable spectrum, enough intensity, and sufficient daily exposure. This guide explains how artificial lighting compares with sunlight, which options work indoors, and how to match a setup to houseplants.
4 min read · 14 Sept 2026
Is Sugar Water Good for Plants?
Sugar water may sound like an easy boost, but most rooted plants do not need extra sucrose. This guide explains how green tissues produce carbohydrates, when a sweetened solution can be useful, and why too much can cause problems.
Explore Plants by Care Needs



Identify the plant and problem. Help your plant recover
Identify plant problems early, understand what's wrong, and get clear care guidance. Botan helps you turn guesswork into confident plant care